March 29, 2013

Ambitious 30th birthday cake


What comes to making cakes, I might be slightly mad. Or at least very ambitious. When I was asked to make a 30th birthday cake for a person who loves travelling, New York and basketball, the first thing that came to my mind was that I could try out my new ball shaped cake tin - and not the easier way possible.


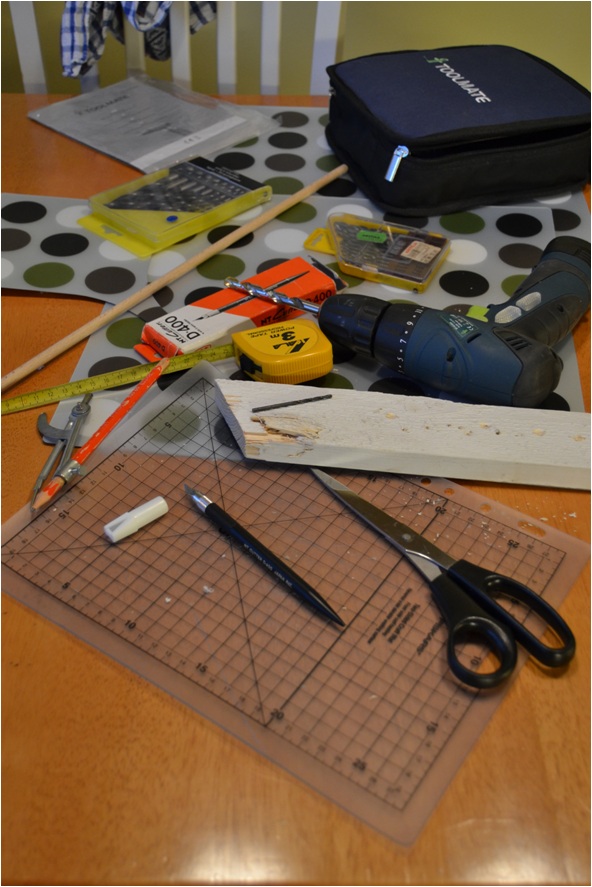
Cake baking these days requires
different kinds of tools ;)
The design
I have to admit that this design caused me a few badly slept nights when I thought about the structural strength of this cake, but I never wanted to give up on it. Perhaps I've been inspired by Ace of Cakes' motto "Make it bigger, make it badder, make it awesome", but from the very beginning I wanted to make a ball, as difficult as it may sound.

The cake was for a rather large number of people, so I added a normal round cake with a city skyline silhouette under the ball. Because this was going to be quite a tall cake and with a gravity defying ball on top, the cake needed a support dowel inside.


Finished base with LED lights
and a support rod


Then I had a stroke of genius. 


Because the cake would need a base with a support rod, it would have to be self-(read: dad-) made. And because the base needed to be self-made, it was possible to add lighting. I decided to use the technique from my last Angry Birds cake and have the city skyline separate from the cake with the base's LED lights between the silhouette and the actual cake.

My mun had some (now old ;) ) Christmas lights which fit my plan like a glove.

Then it only required a few ready cut pieces of MDF from a local retailer, some glue, nails, paint and a piece of plexiglass (and my dad's input on work) and the base was finished!

All it took after that was a few sleepless nights, countless number of work hours and a touch of good luck to get the cake finished.


City skyline silhouette drying


March 24, 2013

Swimming pigs Twix cake


A little while ago my brother's wife sent me a link to a picture of this widely spread Kit Kat swimming pigs cake, and I figured out it was at the same time a discreet order for her own birthday cake. :)


Kit Kat bars proved to be very difficult to find in Finland, and so I was allowed to use Twix bars instead. The flavour of the cake was up to me, so I took one Twix bar, closed my eyes and chewed. Because Twix bar consists of a layer of biscuit and a layer of caramel with a chocolate coating, I decided to make it a caramel cake.

First I thought of changing the pigs to people, and make the cake a blue-watered jacuzzi tub, but this idea would have required the use of dyed white chocolate, and I didn't think white chocolate would have gone well with the Twix bars.


The pigs I made once again in advance, and in my typical way I couldn't just make simple pig figures, but had (in my own opinion) an excellent idea of adding character to the pigs with some extra props... :)


HOW TO MAKE SWIMMING PIGS TWIX CAKE:


Cut Twix bars to desired length and place on the side of a cake iced with butter cream.
If you want to make sure that the Twix bars stay in place,
you can tie a ribbon around the cake
(if the butter cream layer is thick enough, the bars should stay in place themselves)

Melt some chocolate in a double boiler or a microwave and spread the
melted chocolate on top of the cake. Add decorations and let set in the fridge.

Colouring Easter eggs with food colouring


This super easy idea of colouring Easter eggs I took from Wilton's web pages.


THIS IS WHAT YOU NEED:

- hard boiled eggs
- boiling hot water
- food colourings
- vinegar


HOW TO MAKE:

Mix boiling hot water, a splash of food colouring and a tablespoon of vinegar in a sufficient sized bowl. Stir well.

Submerge a hard boiled egg in the colour mix and let  set until the egg is a desired shade.

Rinse with cold water and dry carefully with a paper towel.

March 15, 2013

A bowl of spaghetti, anyone?


This cake was a practice cake, as I needed to test both my new ball shaped cake tin and the structural durability of the underside of a ball for a future cake order.

This cake I took to work again to spoil my work colleagues, and it was a caramel cake, with my own caramel filling recipe (not as sweet as caramel flavoured cakes usually are).

The idea to put "spaghetti" on top of the cake came from the bowl-like shape of the cake, as well as from the fact that I had a still unused spaghetti piping tip laying around in my kitchen drawer. The "meatballs" are cut up Twix bars.


Base (recipe for ΓΈ24 cm cake):

1,25 dl        plain flour
1,25 dl        potato flour
3 tbsp         caramel flavoured cocoa powder
1,5 tl           baking powder
2,5 dl          granulated sugar
6                 eggs

Caramel flavoured cold hot chocolate to moisten the cake.


Beat eggs and sugar until you can "draw" the figure eight on top of the mix with the batter, and it stays visible for a short while. Mix all the dry ingredients together and carefully add to the egg-sugar mix through a sieve. Pour the cake mix into a greased and breadcrumbed cake tin and bake in 175°C for 30-40 minutes. When the top of the cake looks brown, you can cover it with aluminium foil to avoid it burning.


Filling (two layers):

240 g         caramel pudding
3 dl             double cream
120 g         vanilla flavoured quark
4                 leaves of gelatin
1,5 tbsp     water


Soak the gelatin leaves in cold water for 5-10 minutes. Whip the cream.
Mix the caramel pudding and quark together in a separate bowl.
Drain the gelatin leaves of excess water and mix with boiling hot water until they dissolve.
Add the gelatin to the pudding and quark mix. Add whipped cream. 

Spread the filling in between three layers of moistened cake, cover the cake with cling film and let set in a fridge for a few hours (preferably until the next day) before decorating.


Caramel butter cream:

125 g        margarine
1,5 tsp      vanilla sugar
30 g          caramel flavoured cocoa powder
220 g        icing sugar
2 tbsp       milk


Whisk soft margarine and vanilla sugar until slightly foamy. Mix cocoa powder and icing sugar together in a separate bowl and add to the margarine in a few batches while whisking. Add milk with the last batch and mix evenly. 
If the butter cream feels too stiff to spread on top of the cake, you can soften it by heating it in a microwave 5-10 seconds at a time.


March 9, 2013

Christening cake for a baby boy


A few weeks ago I made a soft pink Christening cake for a baby girl, and this time it was time to make one for a baby boy. Of course a boy required something a little edgier than cute baby shoes, so this time the cake called for some miniature trainers which I made before hand to allow for them to dry.


Because I alredy practiced a sugar dummy with the earlier Christening cake, for this cake I decided to create an old classic, the smiley rattle.


In my original design there were jigsaw puzzle pieces going around the side of the cake, but as sometimes plans change (and the jigsaw mold was slightly too big) the cake ended up having train engines and rocking horses alternating around the side.

The filling for this cake (perhaps because I "advertised" it) was yet again a raspberry mousse.


March 7, 2013

Sugar fondant baby trainers


I tried to make my very first sugar fondant shoe already last summer, and the result looked more like a clown shoe than a trainer. This time my aim was to make the shoes look more like baby trainers, and so I adjusted the template slightly.

Unfortunately I didn't think of taking pictures of the entire process, but hopefully I'll have time to post the instructions here at some point.
*INSTRUCTIONS (in Finnish but with step-by-step pictures) CAN NOW BE FOUND HERE

Here's my modified baby shoe template:
(note that it's missing the side strip, but that's just a straight strip going all around the shoe)